Mechanisms at home

Select any three of the tools listed here and evaluate them on the following pages:
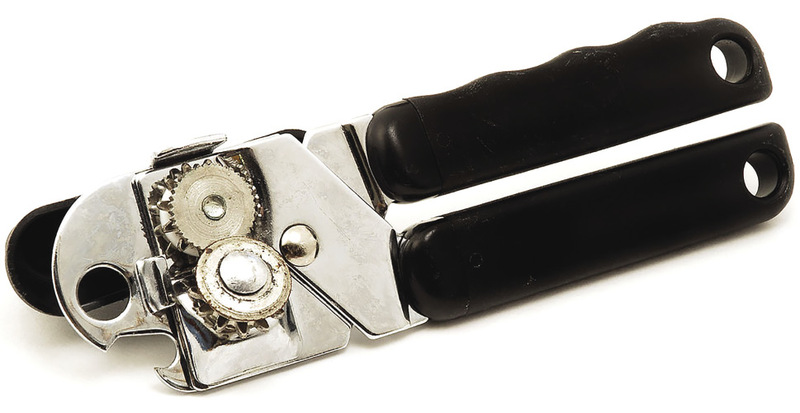
- can opener
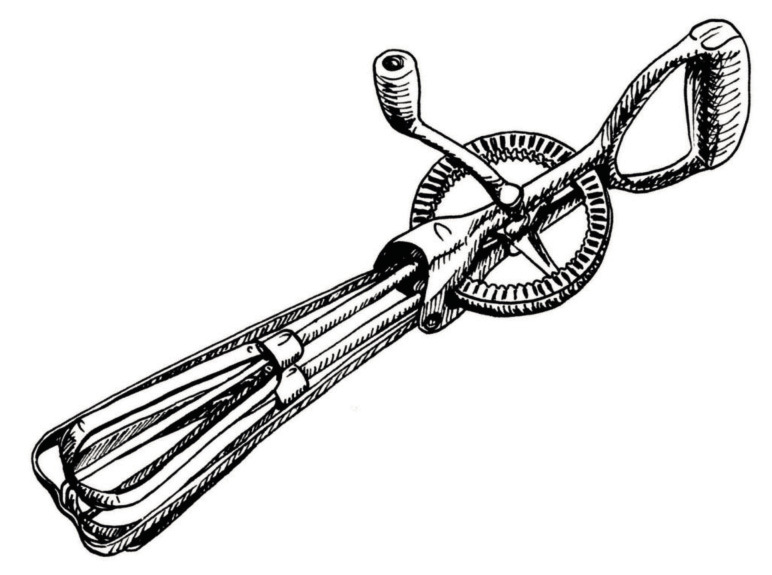
- egg beater
- strap spanner for opening bottles
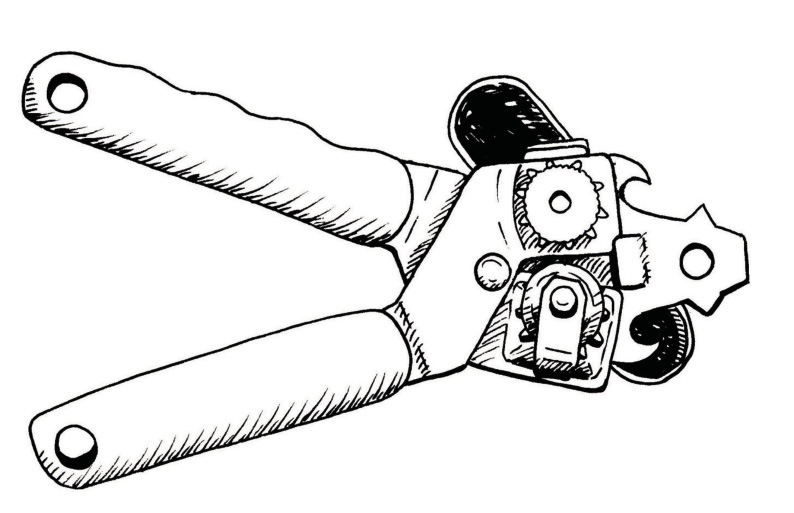
- vice grip
- wire stripper
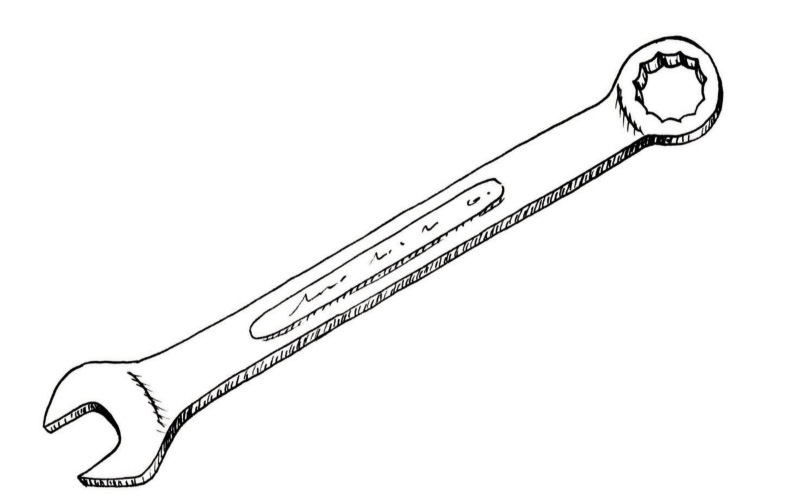
- ratchet spanner
- nail scissors
- ladder
- secateurs
- paper punch
- stapler
- tweezers
- hammer
- garden fork
- pliers
- screwdriver
Describe three tools that people sometimes use that are not on the list above.
Name of the tool
Who will use it?
What can you do with the tool; what is its purpose?
How does it give you a mechanical advantage?
What material is it made of?
Why is it made of this material?
What other materials could be used to make this tool?
How much do you think you should pay for it?
What can go wrong when using it? How can it harm you?
What safety precautions should you take when you use this tool?
Name of the tool
Who will use it?
What can you do with the tool; what is its purpose?
How does it give you a mechanical advantage?
What material is it made of?
Why is it made of this material?
What other materials could be used to make this tool?
How much do you think you should pay for it?
What can go wrong when using it?How can it harm you?
What safety precautions should you take when you use this tool?
Name of the tool
Who will use it?
What can you do with the tool; what is its purpose?
How does it give you a mechanical advantage?
What material is it made of?
Why is it made of this material?
What other materials could be used to make this tool?
How much do you think you should pay for it?
What can go wrong when using it? How can it harm you?
What safety precautions should you take when you use this tool?
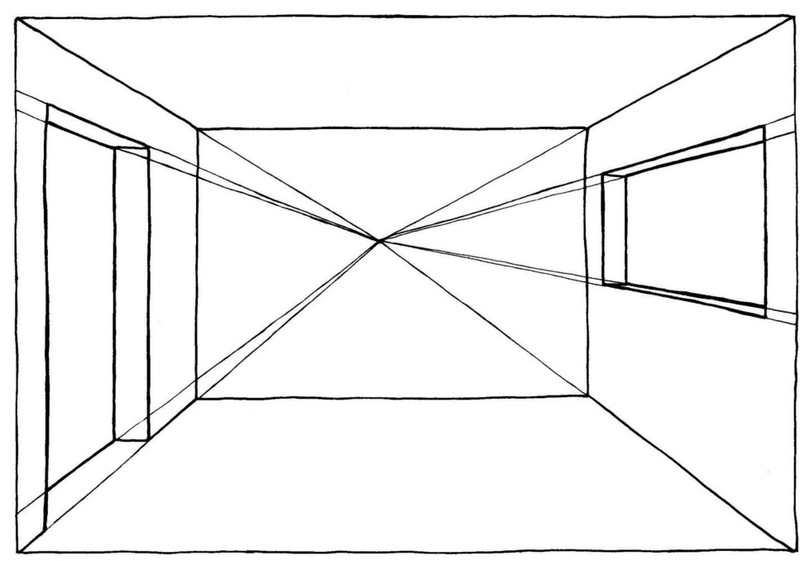
The horizon is the line where it seems as if the earth's surface meets the sky.
vanishing point. Although the road doesn't actually get any narrower, it looks as if the straight lines meet at the horizon and the road vanishes, because of your perspective.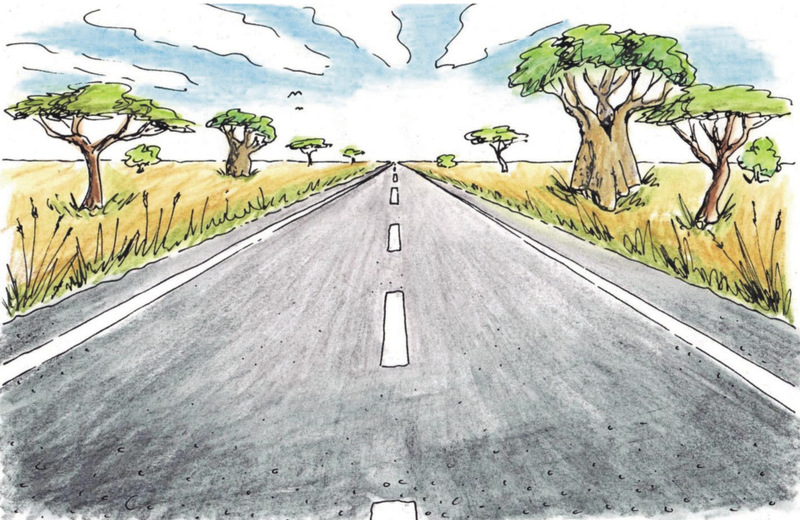
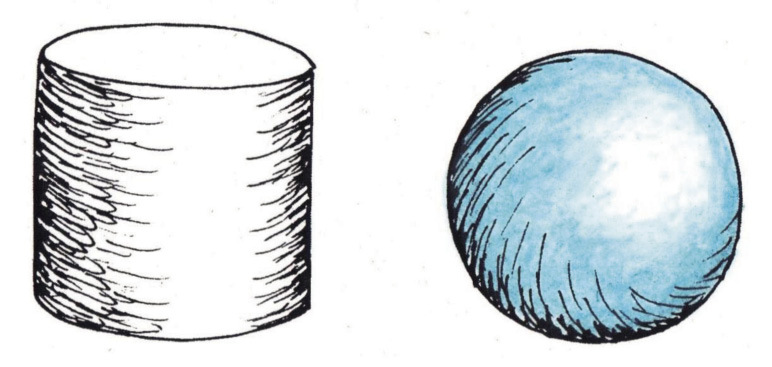
Perspective means a view. In Technology, it refers to the drawing technique of representing 3D objects in 2D. This means you can draw objects to look real even though you are drawing on a flat surface.
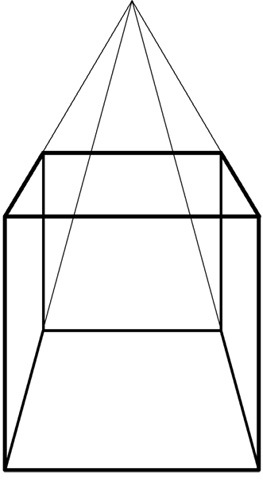
Draw one face of the cube. Select a vanishing point.
Draw very feint lines from each corner of the cube face to the vanishing point. These are your construction lines.
Draw horizontal and vertical lines for the back of the cube. The corners should connect with the construction lines.
Draw the shape of the cube, the outline, in darker lines.
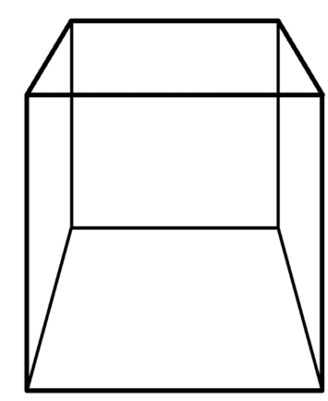
 Now evaluate your sketch. Compare it to
Figure 12.
Now evaluate your sketch. Compare it to
Figure 12.


