Frame structures
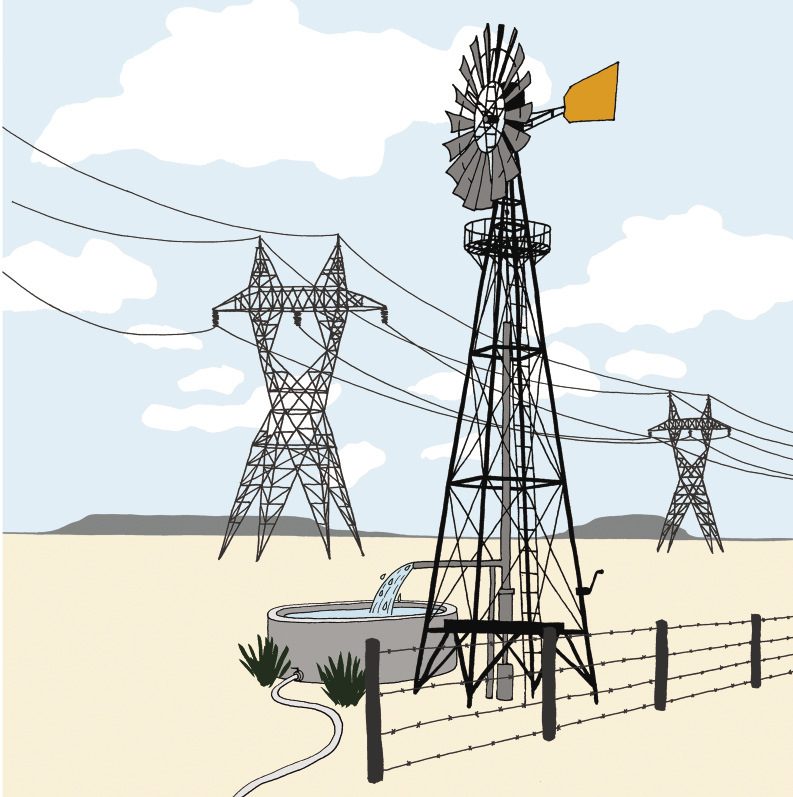
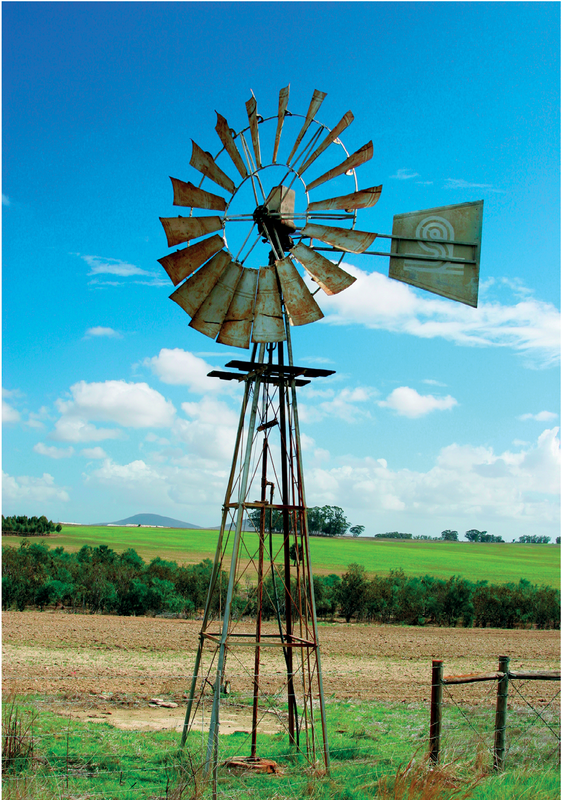
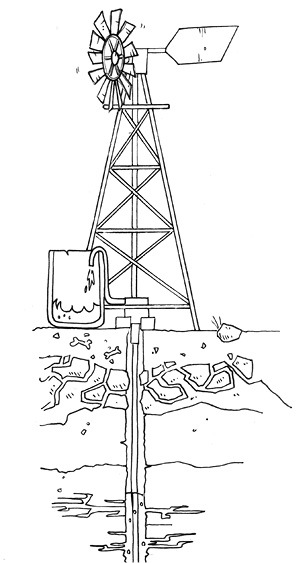
Draw lines on the diagram on the left so that it looks more like the tower of a windmill or a cellphone. Do not use a ruler. Just make a quick free-hand sketch.
Why do you think windmill and cellphone towers are designed as in your drawing?
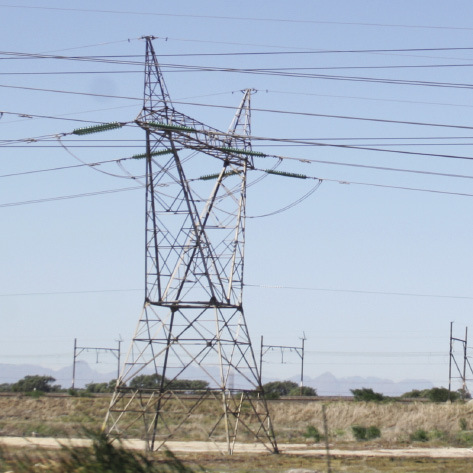
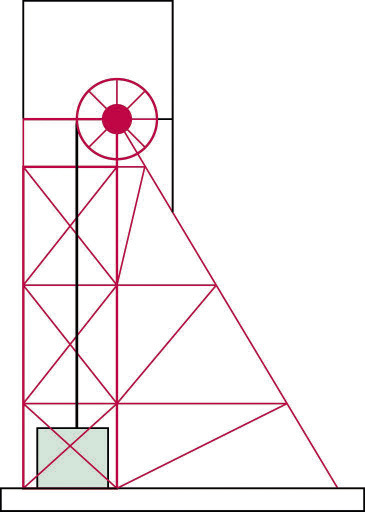
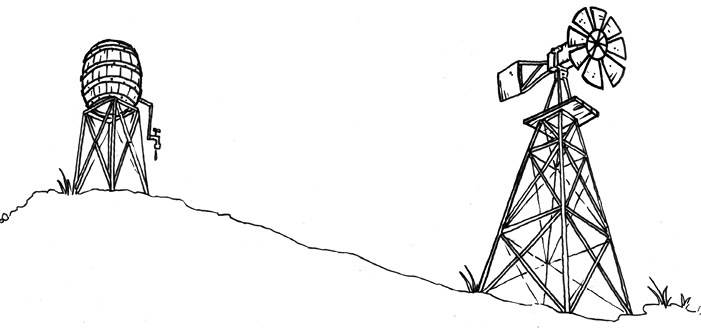
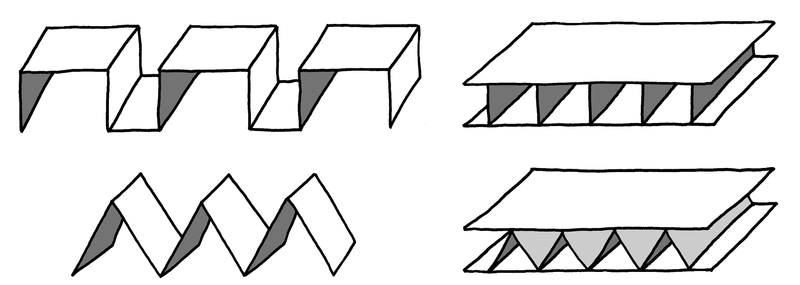
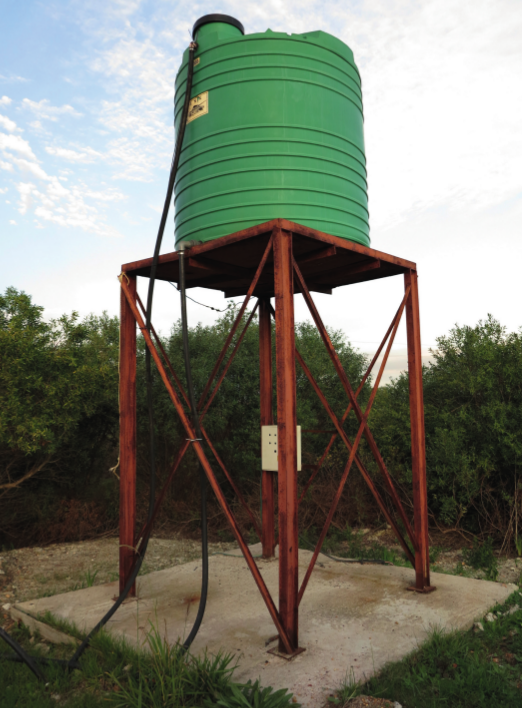
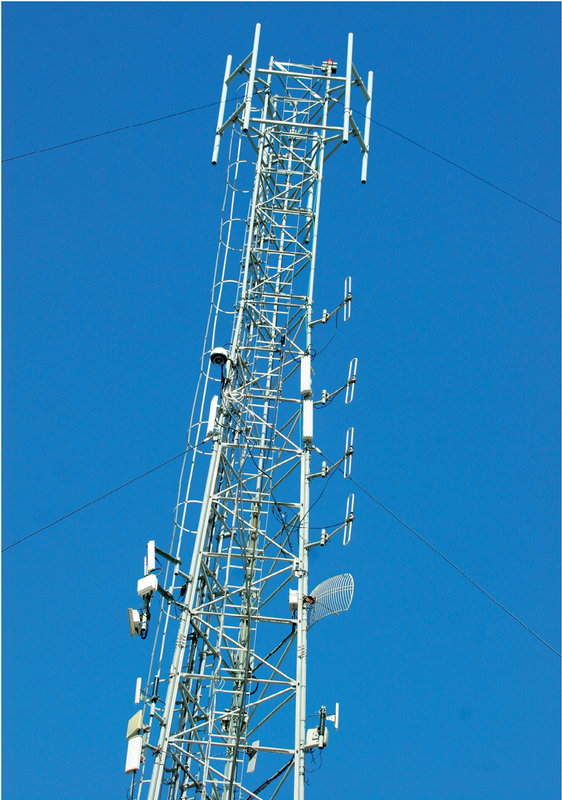
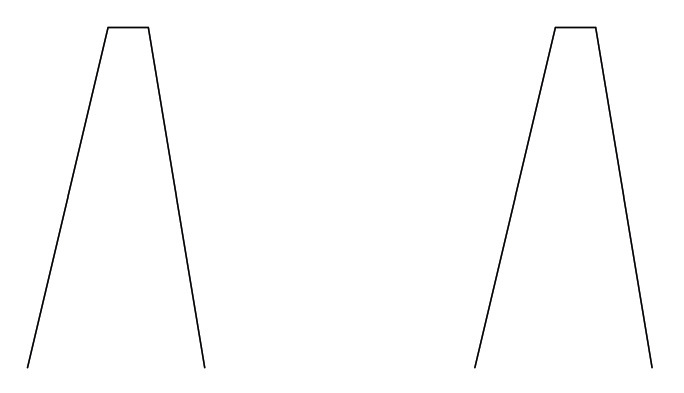
Look at the pictures and photographs that have been shown in this chapter so far. They all show frame towers. Do these towers look more like design A or more like design B below?
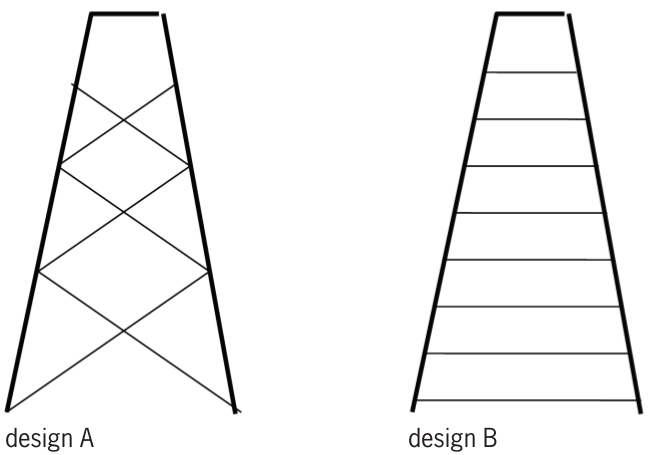
Draw dark lines on the sides of a triangle in design A. Are there any triangles in design B? How many triangles are there in design A?
Why do you think there are triangles in the towers?
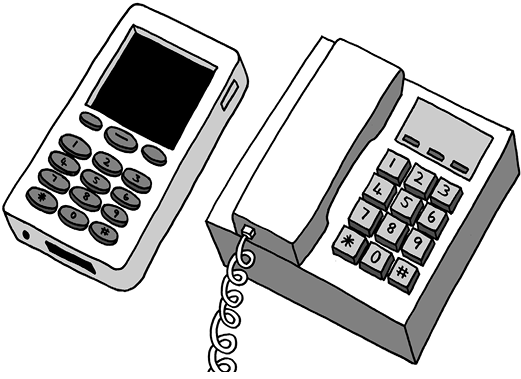
A mobile phone is another name for a cellphone.
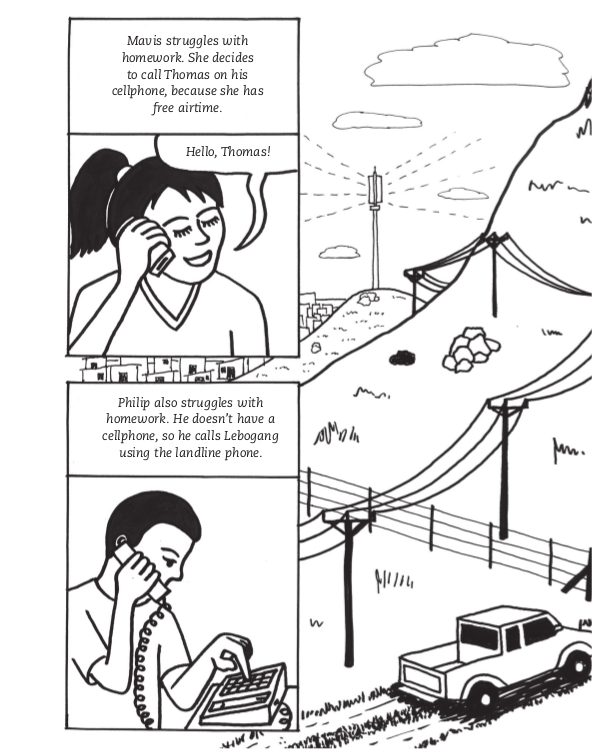
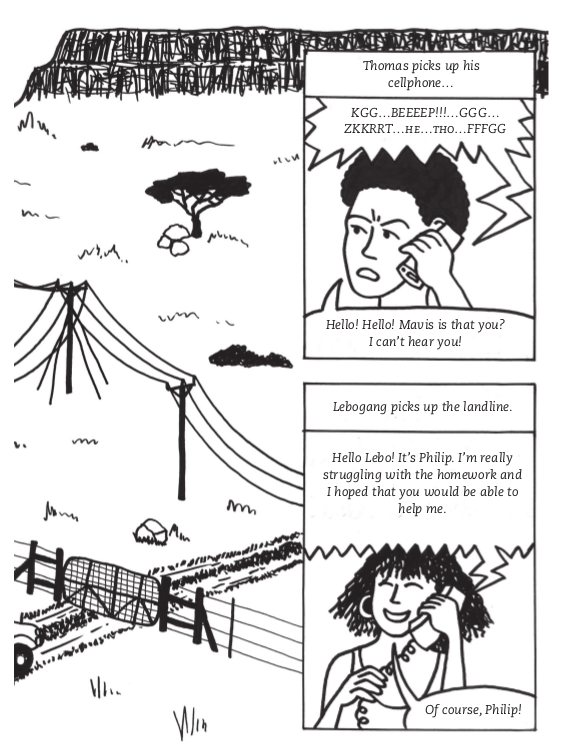
Why can Mavis not hear what Thomas is saying?
Phillip and Lebogang enjoy their conversation. Why are they not experiencing the same communication problem as Mavis and Thomas?
Describe four advantages and four disadvantages of using landline phones, and of using cellphones, in the table below.
|
Device |
Advantages |
Disadvantages |
|
Landline phones |
|
|
|
Cellphones |
|
|
Stiffen: To make something rigid and strong.
Home-made glue
Ingredients
1 cup flour
⅓ cup sugar
1 ½ cups water
1 big spoon vinegar
Method
Mix the flour with sugar in a pot.
Add ½ of the water. Stir.
Add the rest of the water and stir.
Add the vinegar.
Heat until the mixture gets thick and shiny.
Leave to cool.
Which of the two pieces of cardboard will bend easier?
Investigate to check your answer.
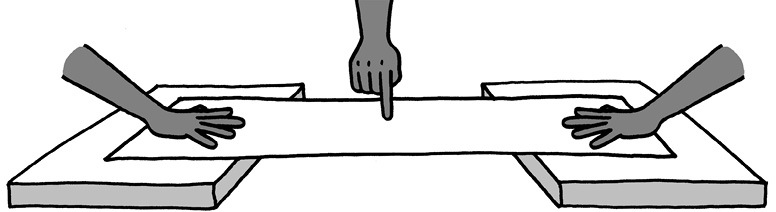
One person holds the flat strip of cardboard across two books as shown below. The other person presses down in the middle of the sheet of paper.
Do the same with the folded strip.
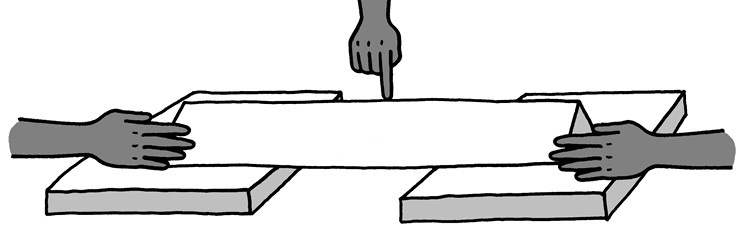
Which strip is the easiest to bend: the flat strip or the folded strip?
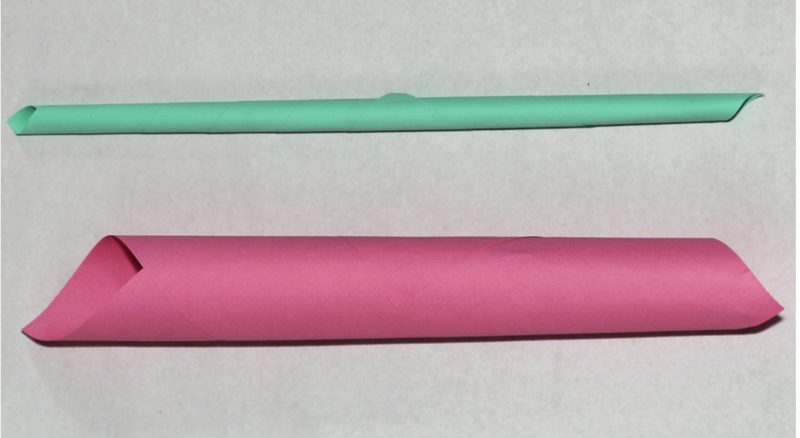
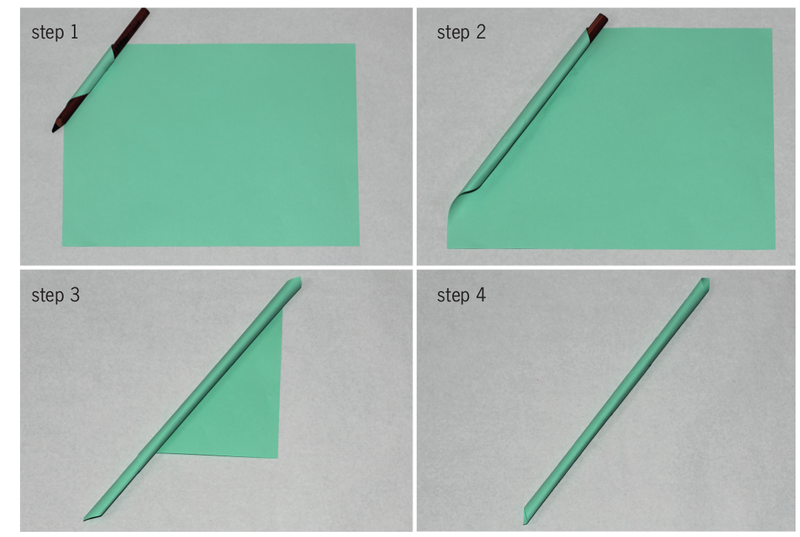
Each group should roll at least five paper straws.
Join four paper straws to make a four-sided shape. Look what happens when you push the sides of the square or pull the sides of the square. Does the shape change?
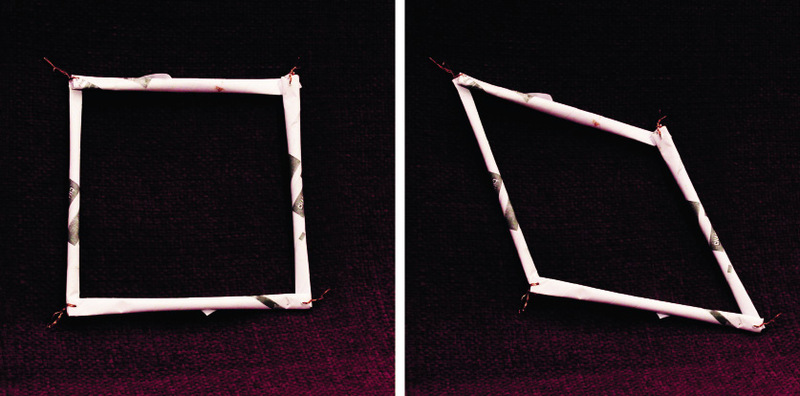
Insert another paper straw from the top left corner to the bottom right corner. Repeat the pushing and pulling actions. Does the shape change easily again?
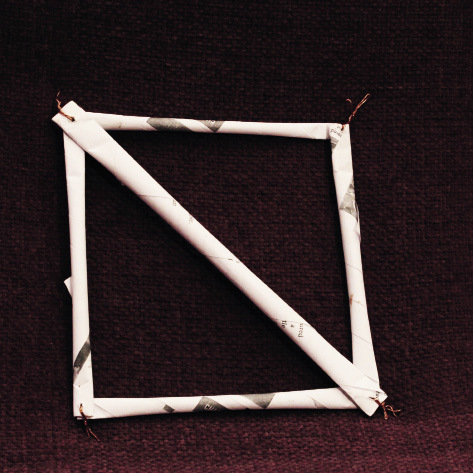
By turning the square into two triangles, you made the structure stable.
Making triangles in a structure is called triangulation.
Look at the shapes below. Decide as a group how you could make them stable.
-
Build the two shapes and test your ideas. One pair makes shape A and the other pair makes shape B.
Push and pull the sides of the shapes before you add extra paper tubes.
Test your shapes once you have added the extra paper tubes. Are they both stable?
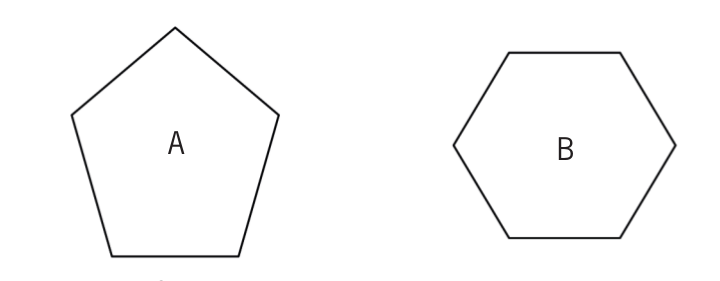
Figure 21
Copy the two shapes. Now fill in where you would add extra paper straws to create triangle shapes.
How many paper struts did you use to turn shape A into triangles?
How many paper struts did you use to turn shape B into triangles?
Share your drawings with three other learners. Take a good look at where they placed the diagonal members to make their shapes stable.
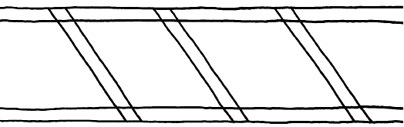
The drawing below is of one side of a bridge. It is not finished yet. Complete the drawing to show how triangulation will be used.
Below are drawings of two different frames.
-
Make each of them using paper or thin card. Make sure that you use the same materials for both frames.
-
When they are finished, press lightly on each of them with one hand. You will feel that they can withstand a little pressure from above.
The square frame is strong when you press straight down on it. It is weak when you press down on it from the side.
The triangular frame can take pressure from the side as well.
Use the same material you used for the frames. Glue a piece on the bottom and the top of each frame. This will make the frame firmer.
Now test the strength of each of the frames. Place the same book first on the one and then on the other frame. Start with a fairly light book. If the frame does not break, add another book.
How many books could each of the frames take before it collapsed?
Which frame collapsed first?
Explain why the other frame was firmer.